What You Pay
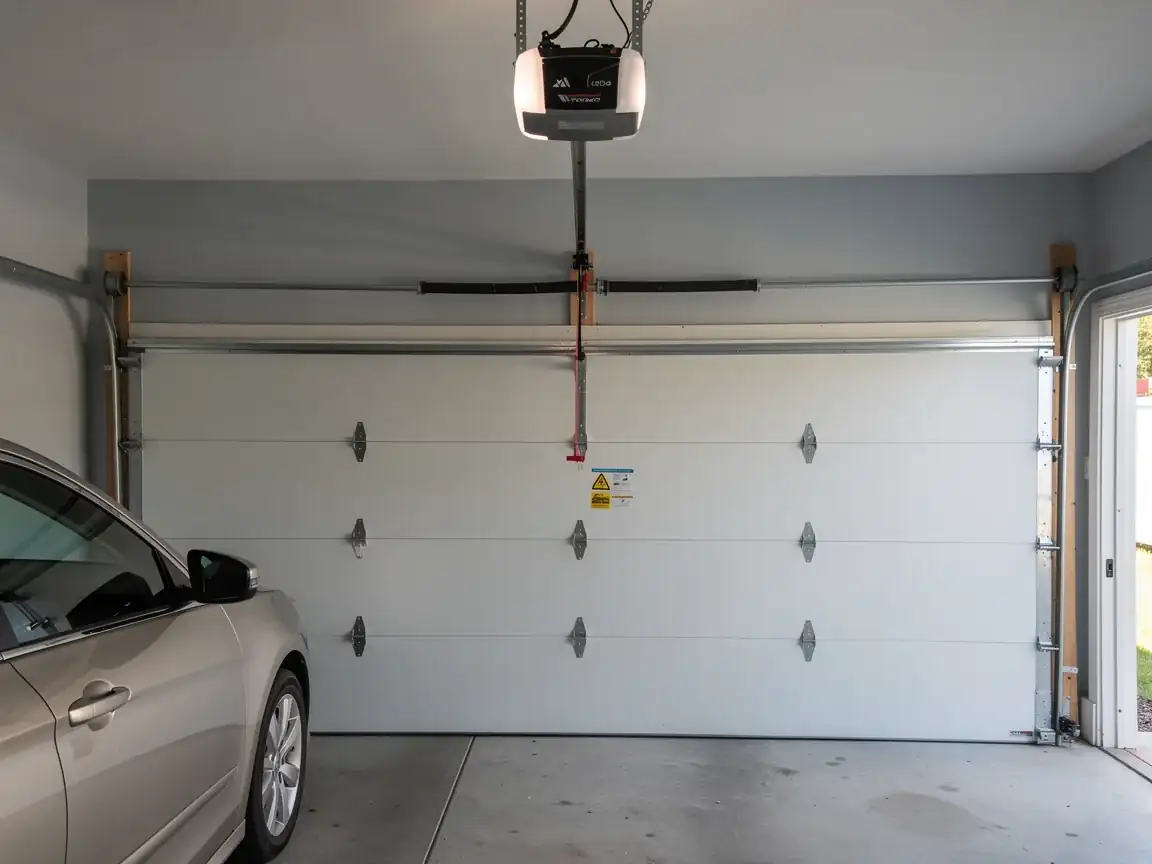
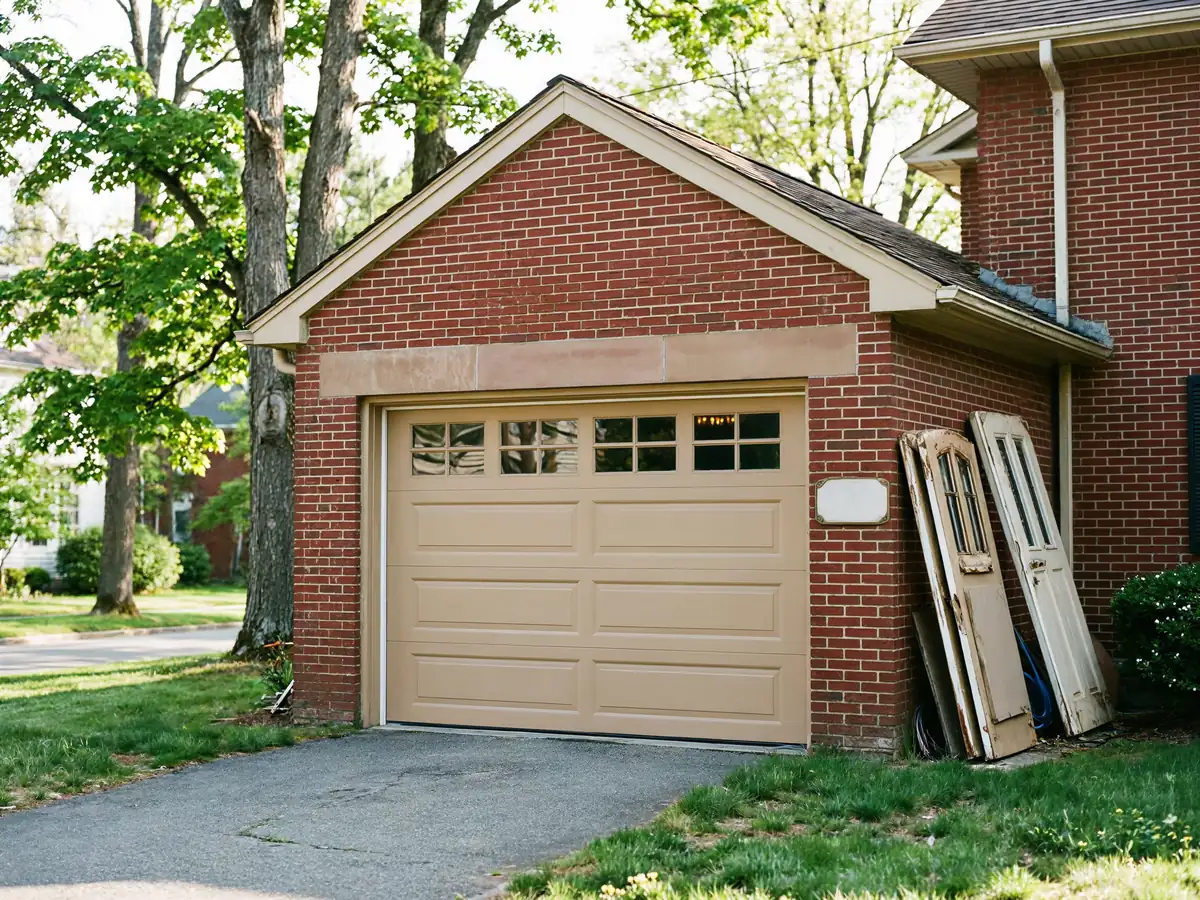
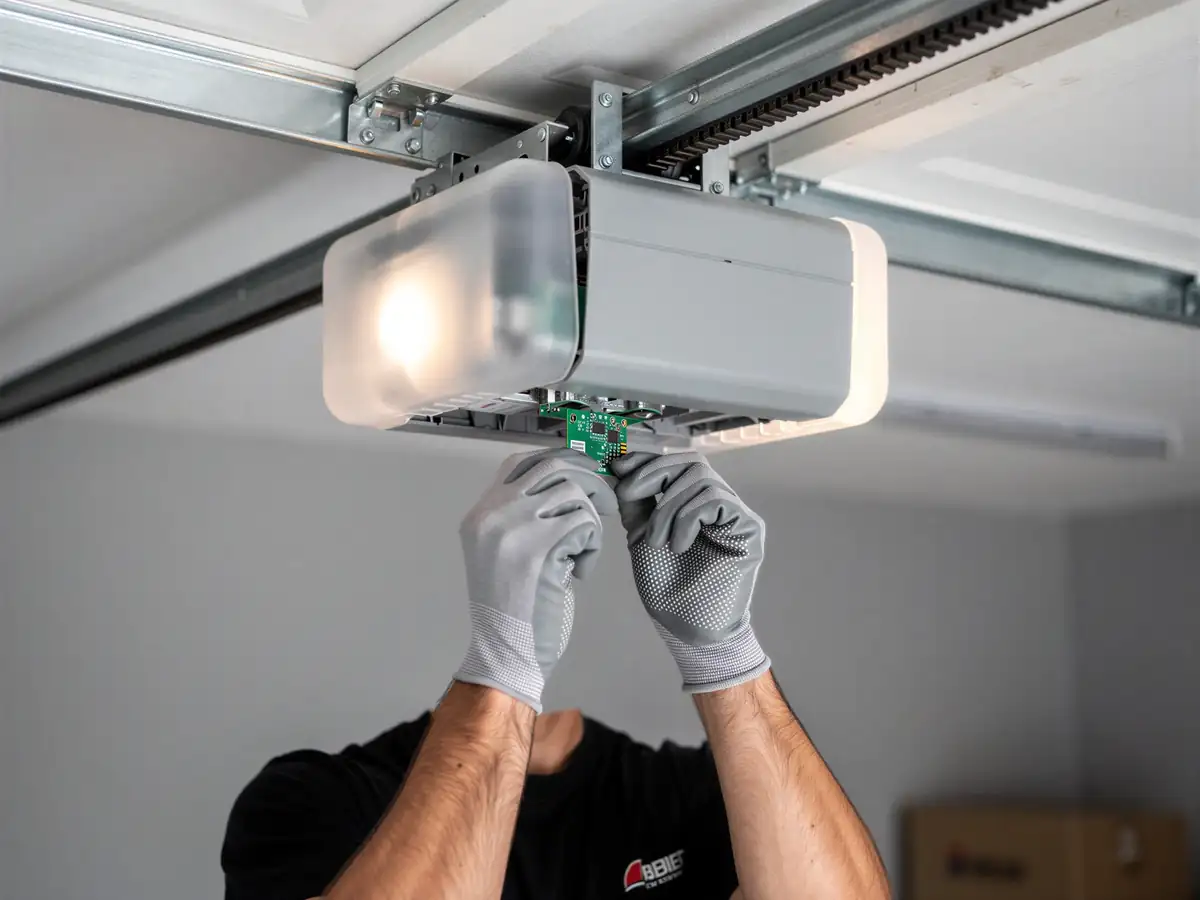
We don't post a flat number here because the install cost swings on what's already in the opening. A straight swap onto existing rail and bracket runs different money than a full replacement where the header needs a new mounting plate because the old one was built for a lighter door. Cromwell's housing mostly went up around 1977, and that build year matters more for pricing than people expect - it tells us what kind of framing and door weight we're likely to find before we even see the garage. If your opener is original to a 1977 build, assume you're paying for new rail, a new logic head, and possibly reinforcement hardware, not just a motor swap. We quote after a look at the actual bracket and header, not off the phone. One honest note: if your door panel is also original, replacing the opener alone sometimes isn't worth it - a heavier door on old hardware will just strip the new unit's gears faster than it should.
Where This Job Goes Sideways
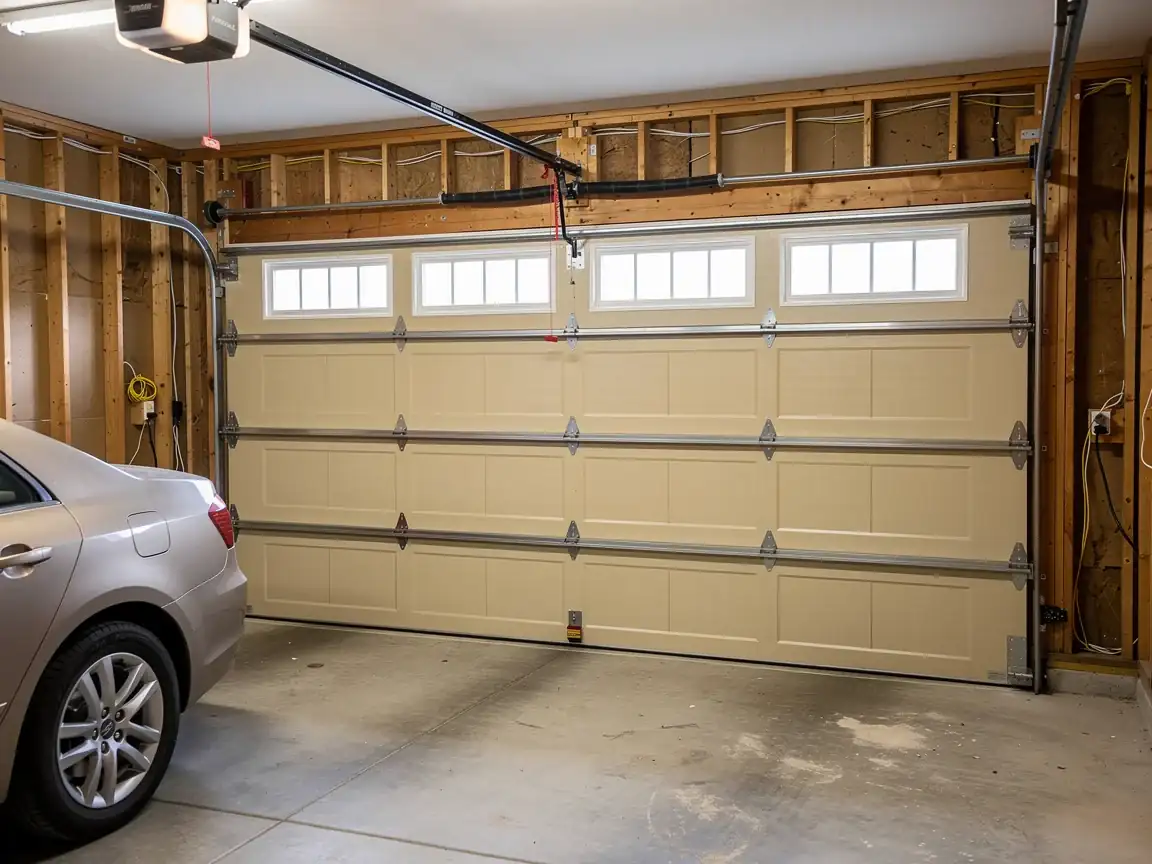
The truck comes from Glastonbury, seven miles up the road, so there's no walk-in counter in Cromwell itself - we schedule, we drive, we install. Where the job actually goes sideways is at the header. Houses built around 1977 were framed for whatever single-layer door was standard that year, and the opener bracket was lagged into wood sized for that load, not for a heavier insulated door someone added in a later remodel. When we pull the old unit and the header flexes under the new rail bracket, that's an extra twenty minutes nobody quoted for. The other spot it goes wrong: wiring. A lot of these garages never got a dedicated circuit for the opener - it's sharing a line with something else in the house, and a modern opener with a battery backup charging circuit wants its own breaker. We check both before we start mounting anything, because catching it after the rail's up costs more than catching it first.
Stocked Parts
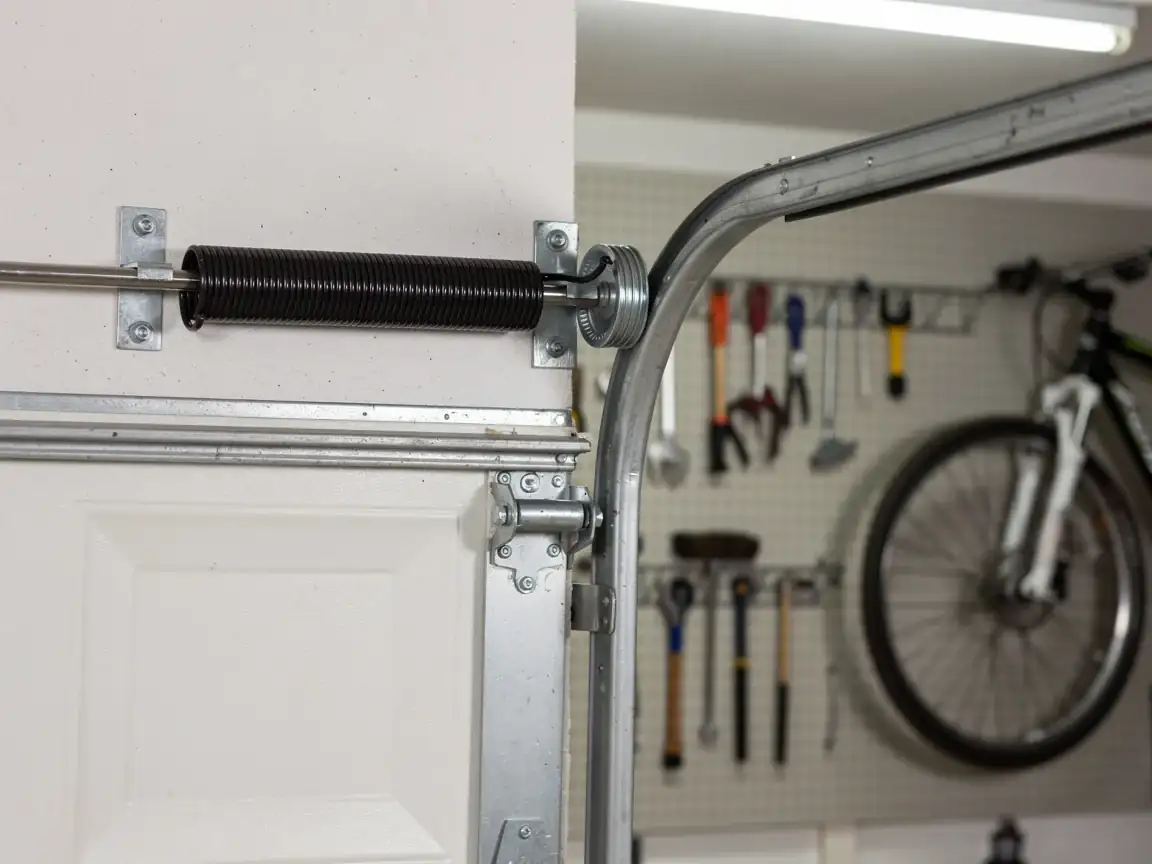
For openers going into garages from this build era, we carry standard 7-foot rail sections and the mounting brackets sized for the header spans common to 1970s single-car and two-car openings. What we don't carry on the truck is anything custom - if your header's been altered from the original 1977 framing, or the garage was converted at some point, we may need to order a bracket kit rather than install off the shelf that day. We're upfront about that at the walkthrough, not after the truck's already there. For the safety reversal components - the photo-eye sensors a lot of 1977-vintage garages never had - those are stock parts we bring standard with any new install, since code expects them regardless of what the original setup had or didn't have.
What the Repair Takes
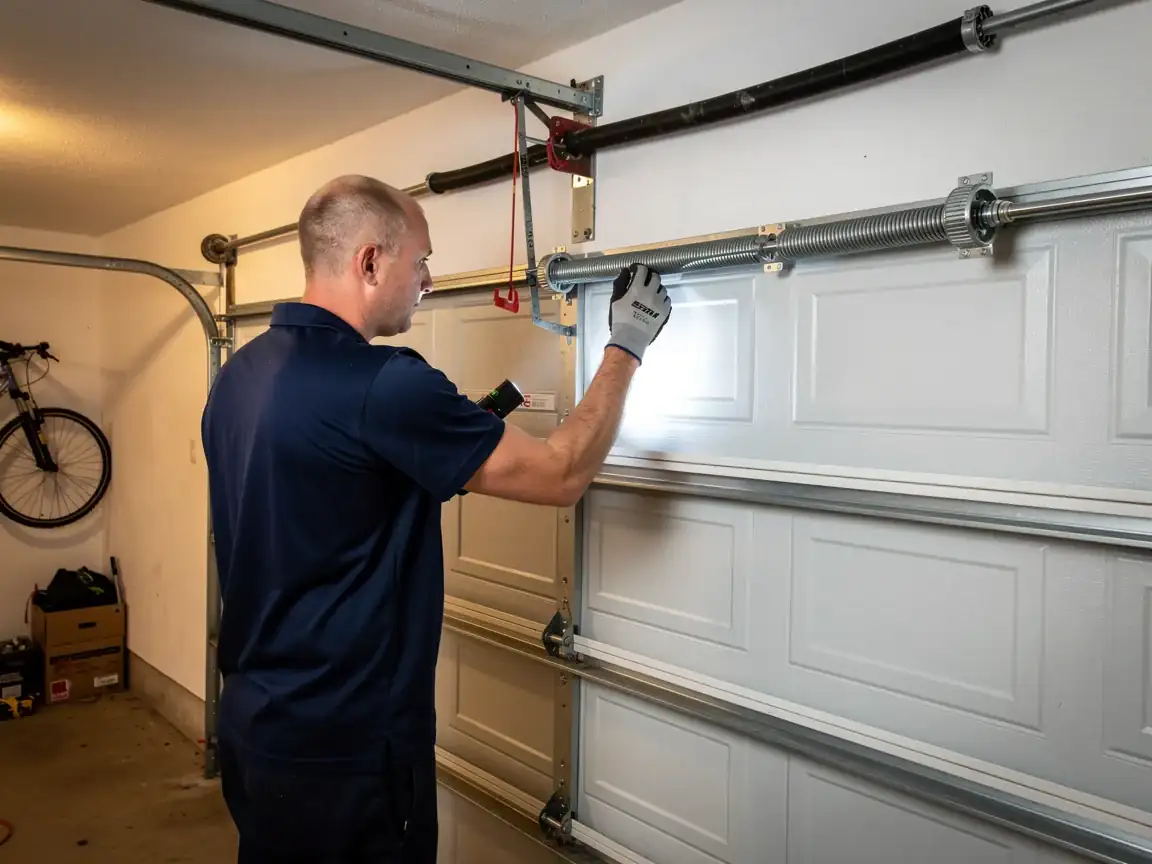
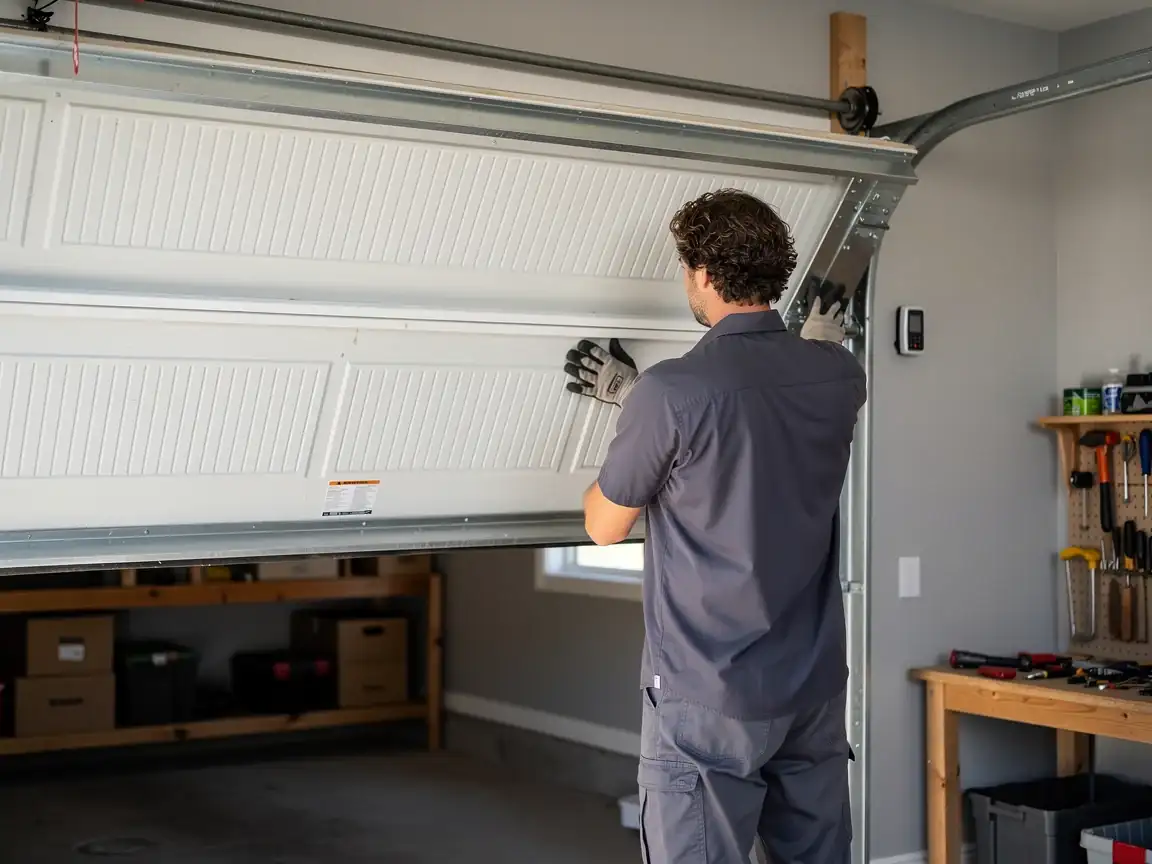
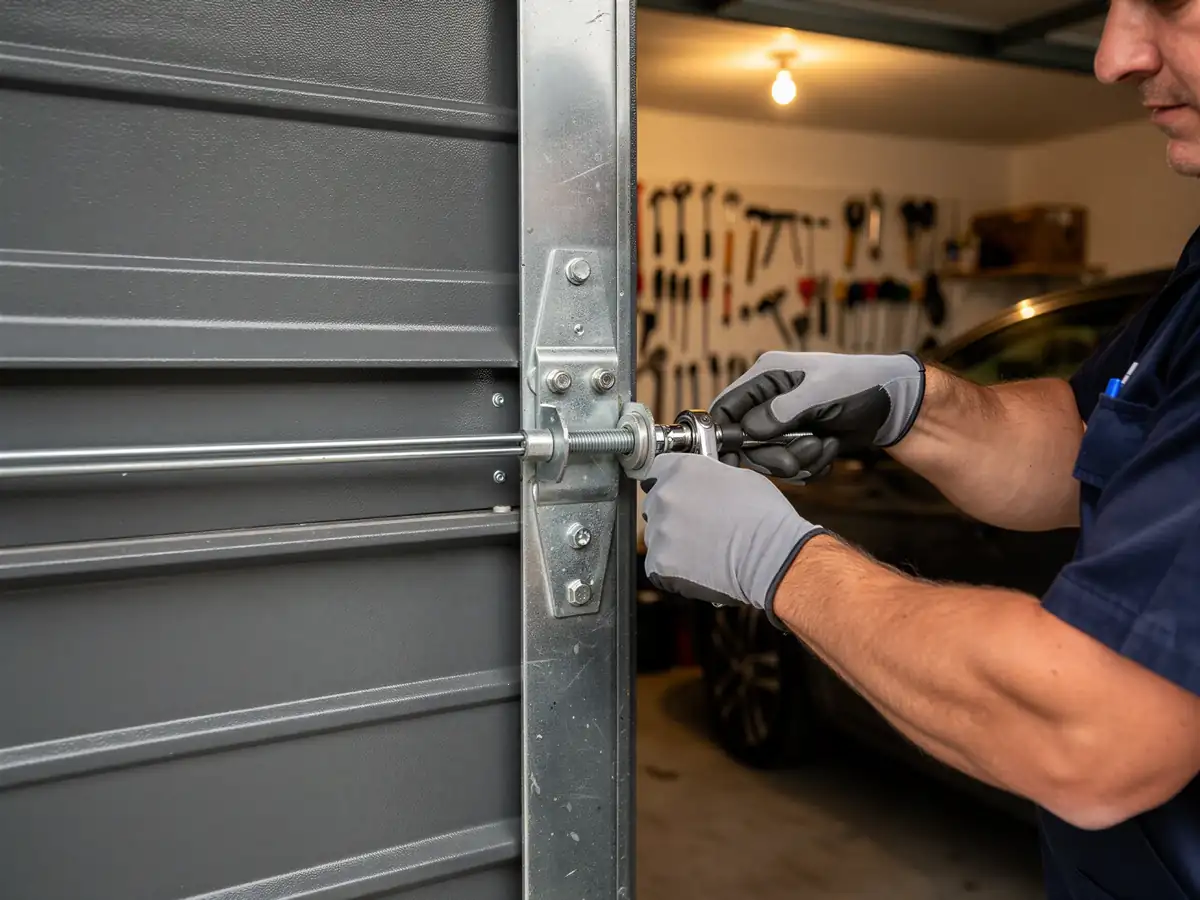
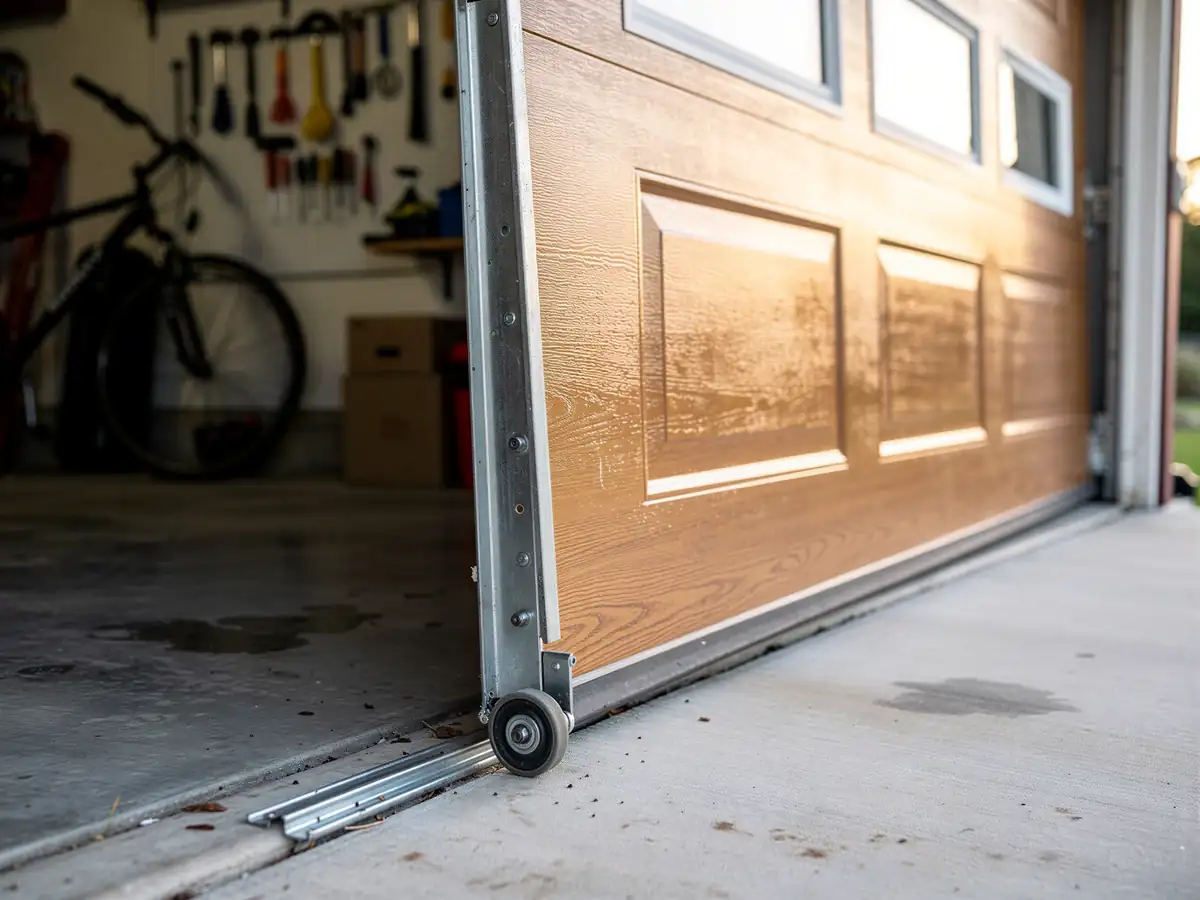
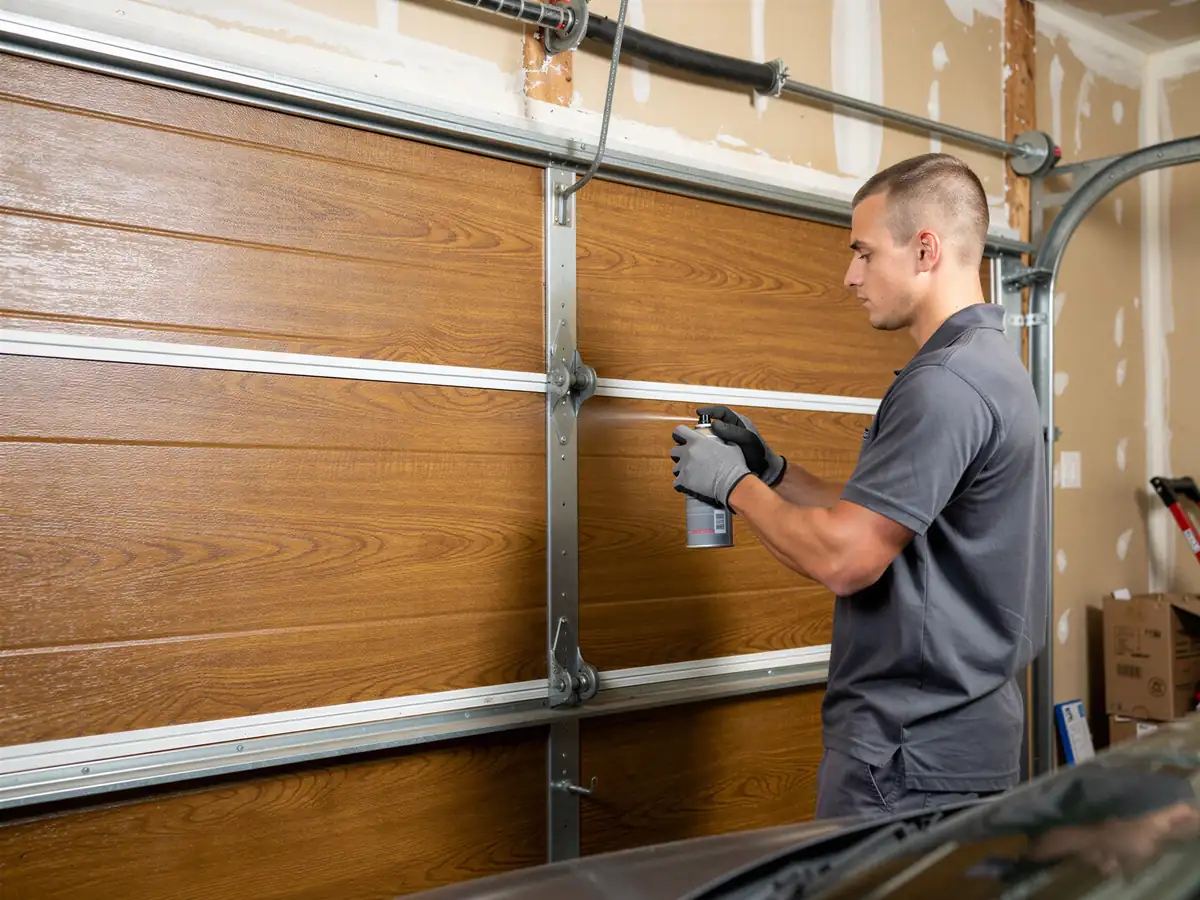
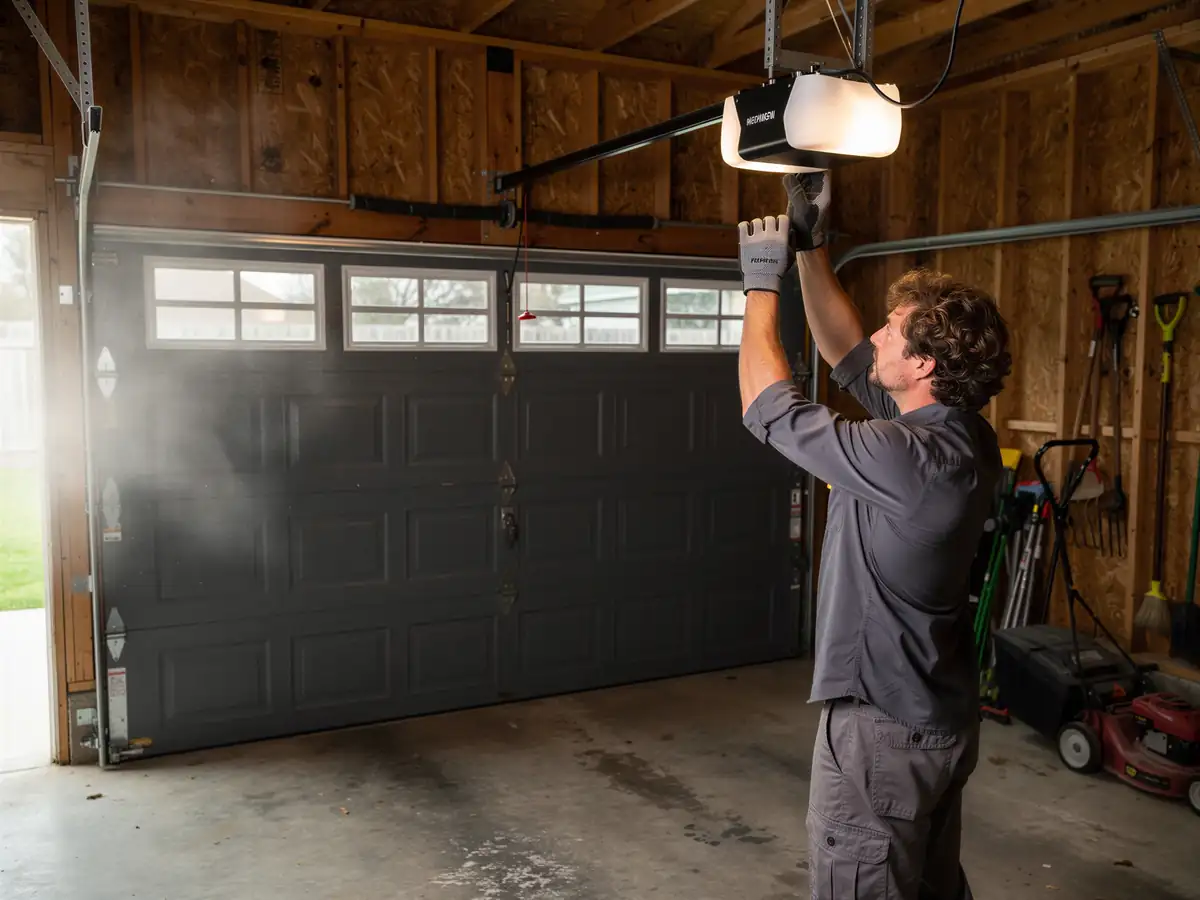
Installing a new opener on an opening that already has sound rail brackets and a header that can take the load is a same-visit job - we pull the old unit, hang the new rail, wire it in, and set the travel limits and force settings before we leave. Where it stretches longer is exactly what we flagged above: a header that needs reinforcement, or a circuit that needs to be run or upgraded before the opener's battery backup can draw power correctly. We won't guess at that over the phone. We also won't install a new opener on a door panel that's clearly failing - if the door itself is original to a 1977 build and the panel's sagging or the track's bent, putting a new motor on it just moves the failure point, it doesn't fix it.